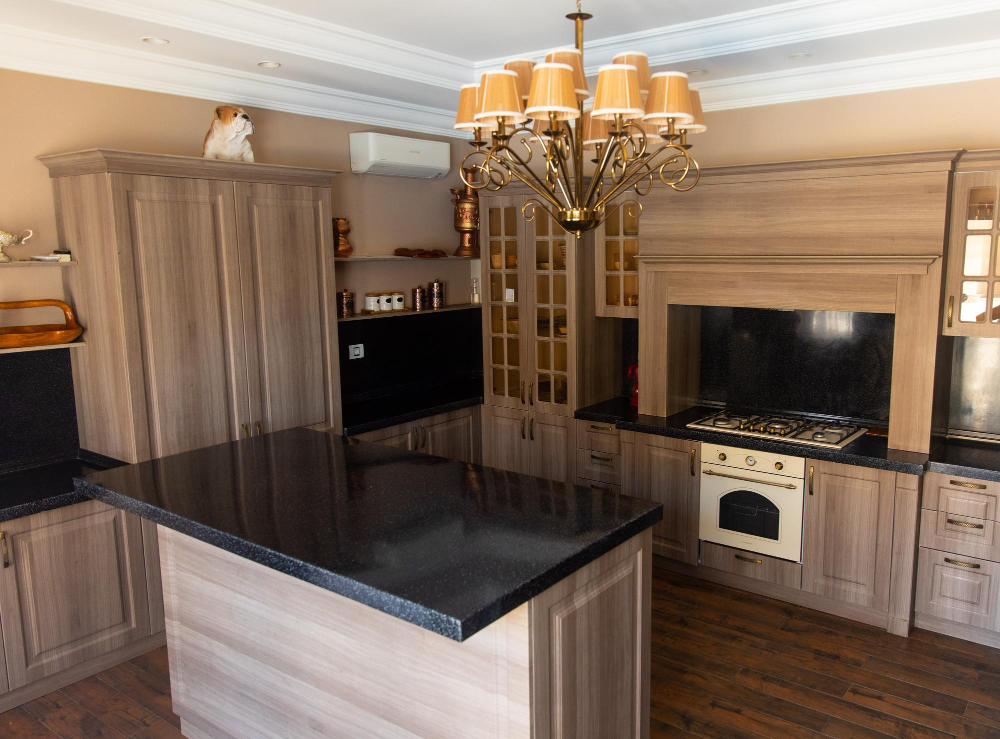
Most homeowners focus on cabinets, countertops, and appliances during a kitchen renovation, yet one of the most important elements of long-term functionality often remains hidden behind the walls. A well-planned kitchen plumbing system directly affects how efficiently, comfortably, and reliably a kitchen performs every single day.
Modern kitchens now demand far more from plumbing infrastructure than they did in previous decades. Today’s layouts include oversized islands, workstation sinks, filtered water systems, pot fillers, smart appliances, and multi-functional prep areas — all of which require carefully coordinated plumbing solutions that support modern living.
How Kitchen Plumbing Has Evolved in Modern Remodeling
Older kitchens were often designed around basic utility needs. Modern kitchens, however, prioritize convenience, flexibility, and integrated functionality.
Today’s plumbing systems commonly support:
- Multi-zone sink layouts
- High-efficiency dishwashers
- Filtered water systems
- Kitchen islands with plumbing access
- Smart appliance integration
- Improved water efficiency
As kitchens become more sophisticated, plumbing planning becomes increasingly important to the overall success of the renovation.
The Hidden Impact of Good Plumbing Design
Homeowners often notice cabinetry and finishes immediately, but plumbing design quietly influences daily convenience behind the scenes.
Improved Workflow
Proper sink placement and efficient water access can dramatically improve how homeowners move through meal preparation and cleanup routines.
Strategic plumbing layouts help support:
- Faster kitchen cleanup
- Better prep station organization
- Reduced movement inefficiencies
- Improved cooking flow
Small layout adjustments often create noticeable improvements in daily usability.
Long-Term Reliability
Outdated or poorly designed plumbing systems can create recurring maintenance issues over time.
Modern plumbing upgrades help reduce:
- Leak risks
- Drainage problems
- Water pressure inconsistencies
- Pipe deterioration concerns
Updated systems help support long-term residential performance and peace of mind.
Improved Water Efficiency
Modern plumbing fixtures increasingly focus on reducing water waste without sacrificing performance.
Water-efficient improvements may include:
- Low-flow faucet systems
- Efficient dishwasher integration
- Smart leak detection systems
- Advanced shutoff controls
These upgrades support both sustainability and long-term utility savings.
Modern Kitchen Plumbing Features Homeowners Want Most
Workstation Sink Systems
Multi-functional sink setups have become one of the fastest-growing kitchen trends.
These systems may include:
- Integrated cutting boards
- Built-in drying racks
- Multi-level prep stations
- Deep utility basins
Workstation sinks help maximize efficiency while improving countertop organization.
Kitchen Island Plumbing Integration
Large islands increasingly function as prep stations, serving areas, and social gathering zones.
Island plumbing systems may support:
- Secondary prep sinks
- Dishwasher placement
- Filtered water faucets
- Pot filler systems
These features improve kitchen flexibility and overall workflow.
Smart Faucet Technology
Technology integration is reshaping modern kitchen functionality.
Smart plumbing features may include:
- Touchless faucet controls
- Voice-activated water systems
- Temperature memory settings
- Water usage monitoring
These systems improve convenience while supporting cleaner kitchen environments.
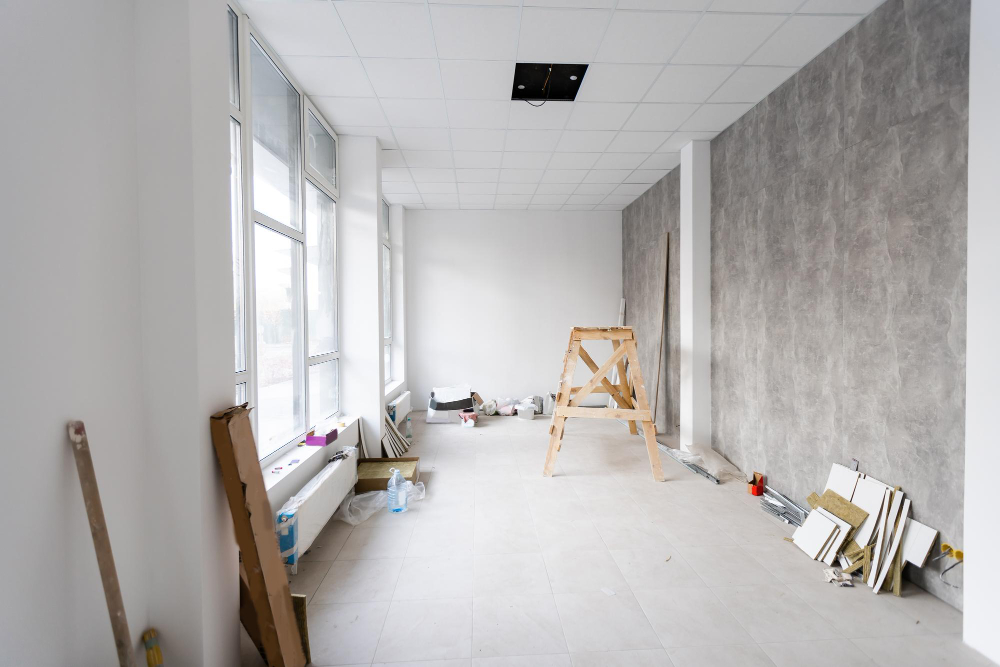
Why Plumbing Planning Matters During Remodeling
Plumbing is one of the most important structural components of any kitchen renovation. Poor planning can create expensive limitations later in the project.
Careful plumbing coordination helps ensure:
- Efficient appliance placement
- Proper drainage design
- Reliable water flow
- Long-term maintenance accessibility
- Code-compliant installation
Early planning often helps prevent unnecessary construction delays and future performance issues.
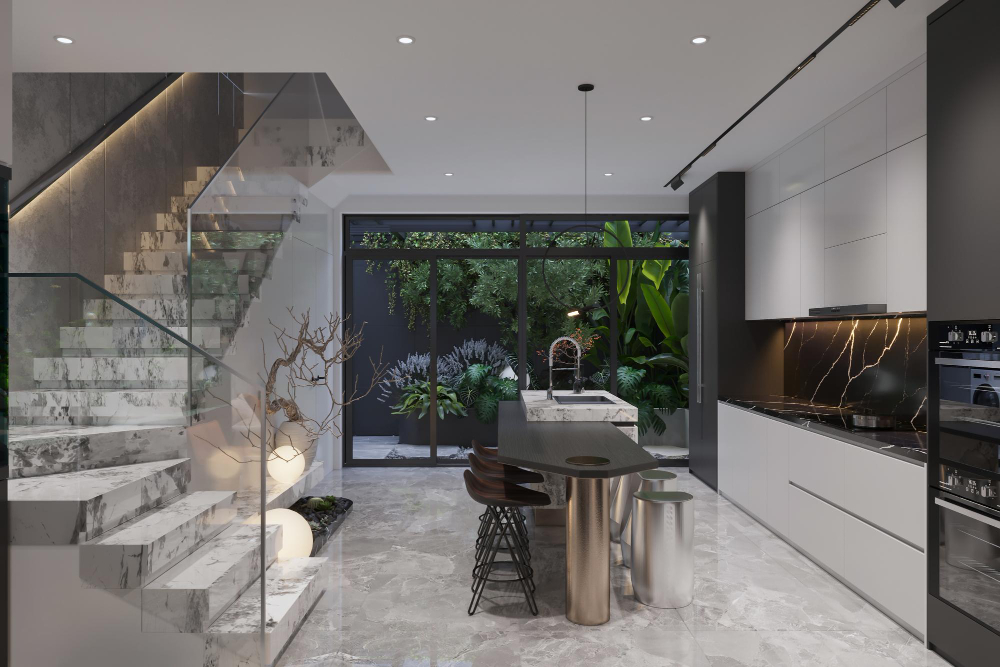
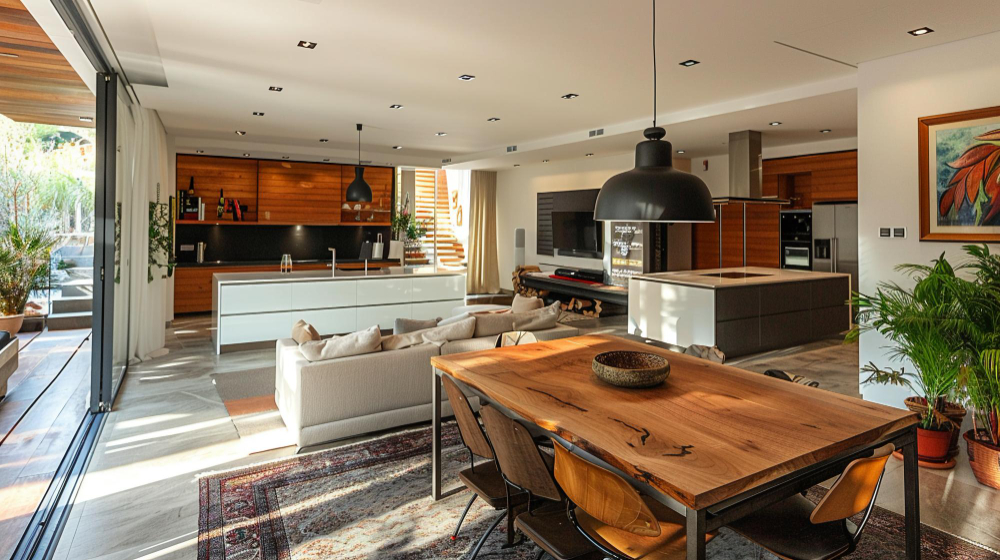
How Plumbing Influences Kitchen Design Flexibility
Modern remodeling increasingly blurs the line between aesthetics and infrastructure. Plumbing placement directly affects what design possibilities are achievable within the space.
Properly planned kitchen water plumbing installation systems allow designers to create:
- Open-concept kitchen layouts
- Expanded islands
- Hidden appliance integration
- Minimalist sink configurations
- Luxury prep zones
Infrastructure planning often determines how functional and visually cohesive a kitchen ultimately becomes.
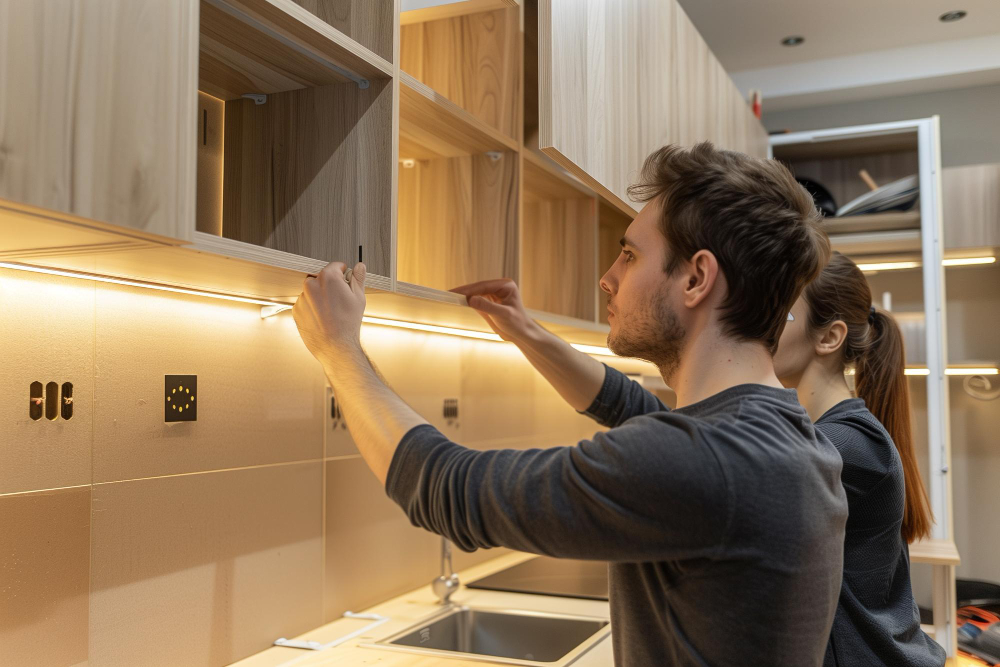
The Importance of Professional Kitchen Plumbing Installation
Professional installation is critical because kitchen plumbing must coordinate with cabinetry, flooring, electrical systems, ventilation, and appliance placement simultaneously.
Experienced professionals help ensure:
- Accurate pipe placement
- Reliable leak prevention
- Proper water pressure balancing
- Efficient drainage performance
- Long-term system durability
High-quality installation directly affects both performance and long-term renovation reliability.
Kitchen Plumbing as a Long-Term Investment
Homeowners increasingly recognize that high-performing kitchens depend as much on infrastructure quality as they do on surface finishes.
Professionally completed kitchen plumbing contractor projects often improve:
- Kitchen efficiency
- Everyday convenience
- System reliability
- Water efficiency
- Long-term property value
Smart plumbing upgrades help create kitchens that function smoothly for many years while supporting modern lifestyle demands.